

One of the problems that most of the bloggers encountered is being Mentally Blocked. I hate it when a certain idea popped out while I was doing something else and when I started to open my blog, I suddenly forgot all those wonderful ideas that are worth sharing for. Yesterday I was able to think so hard and figure out this issue. I grab a notebook and write all the things that I wanted to blog about ,then an idea suddenly popped out! Why not make my own blog planner? I mean, it's more inspiring if you have a personalized planner rather than to settle with a plain notebook right? So today, I'm going to show you my DIY Blog Planner using my old journal.

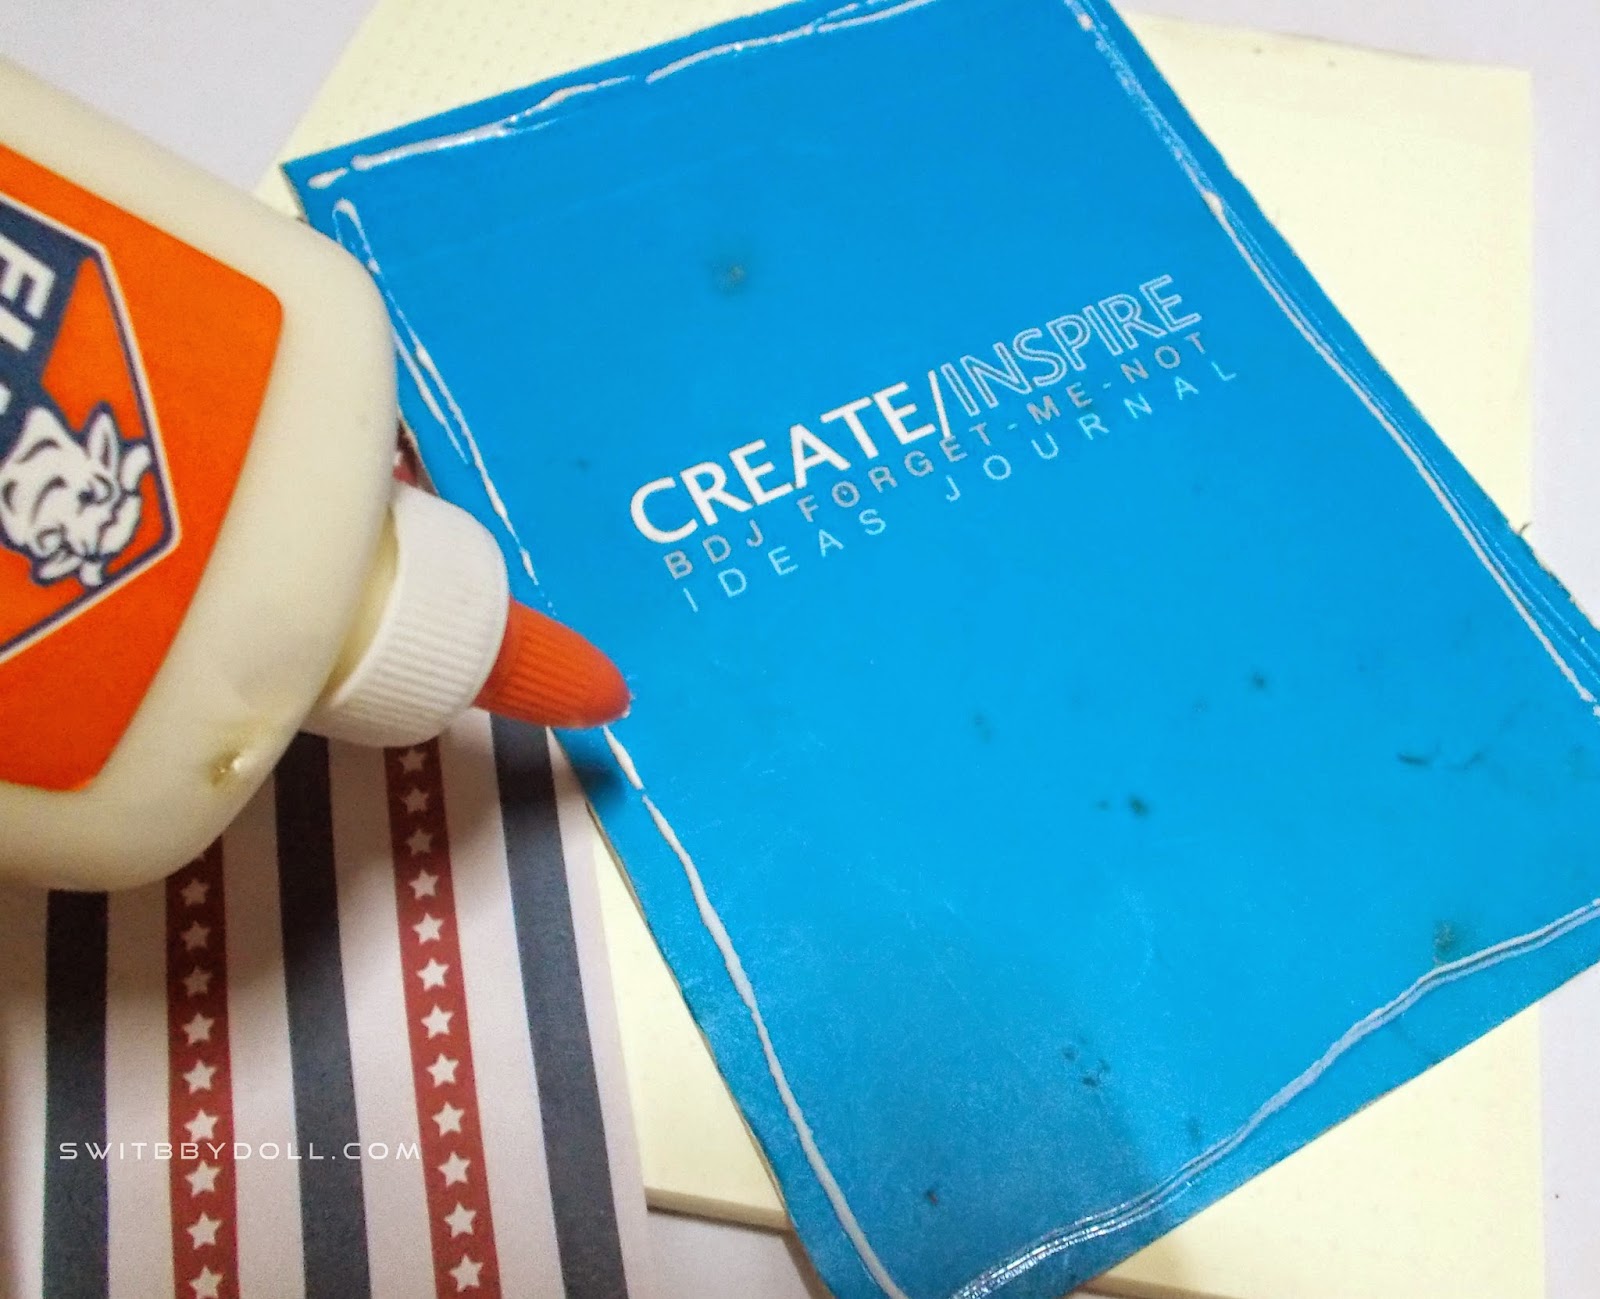
This old journal of mine was sent by BDJbuzz last year, and I almost forgot it, good thing I cleaned my room and found this on my old box where I kept my files. Look how dusty and dirty the cover is, ew! Good thing, I found a free printable papers that can be use to cover this rugged journal. At the end of this post I will be posting the link for the freebies that you might want to download. First things first, here are the materials you needed to create your very own blog planner.

MATERIALS NEEDED:
- OLD JOURNAL
- SCISSORS
- GLUE
- RIBBON
- PRINTED PAPERS
- STICKERS
- PUNCHER

I detached the cover because I'm planning to divide it into two since my sister, the blogger behind Jongs Journey just started blogging and I want to replace her boring notebook to inspire her to write more.


I had removed the staple to divide it accurately. Removing the staple took me five minutes, whew!

I used scissors to divide it properly.

Tadah! equally divided. :)

These were the printed papers I'm telling you and it's absolutely free! Later, after this post you'll get to download cute printables for scrapbooks. My choices were the nautical pink and the red and blue.


Look how cute the printable banners are! I know you're pretty excited to grab yours as well, I'm almost done. I'm excited to share it with you as well.


Found this on google and printed it. Supposedly these were meant for sticker paper but I don't have one so I've printed it using my sterling papers and would have to paste it wherever I wanted. My choices were the guitar and the cute little star with a Rock Star on it.

The last part was making an eyelet for the ribbon and I've used puncher for this.

And voila! I'm done! The content for my blog planner would be the blog title, photo ideas, inspiration/sources, Content Notes/Summary, Links, To Do List and where to share my post. Okay, here we go, as promise, here are the freebies that you might want to download. Ready? Here it goes..


If you want to download more just CLICK HERE, i guarantee you that all the pretty things you see are absolutely FREE!.
Thank you Keren from Free Pretty Things For You for the lovely things you've shared and to Andrea of the Cottage Market.


WOW!!! Thank you so, so much for the tutorial and I super love the Freebies Sis!! :) Gotta try this real soon!! <3 *great post again*
ReplyDeleteYou're welcome :) You really should! thanx sissy~ :)
DeleteThanks for the tutorial <3 I like it!!
ReplyDeletehttp://itsmeeejennyy.blogspot.com/
You're welcome Jenny :)
Deletevery nice diy project sis! I'll make one when I get the time :) thanks for sharing the printables too!
ReplyDeletethanks sis for dropping by :) You should, it's fun making it! :)
Deleteits awesome that you placed printable too :) I have a blogging planner as well I change it every I'm supper excited to start on an new one :)
ReplyDeletehttp://steph-g.blogspot.com/
awe :) you should, can't wait to see yours! :)
Deleteaww this is so cute and thanks for sharing the printables <3
ReplyDeletewww.sarahrizaga.blogspot.com
thanx Sarah, no problem always welcome! :)
DeleteThese are lovely! Wonderful post! :)
ReplyDelete~Moll
www.mollymac13.blogspot.com
Thanx Molly! :)
DeleteGreat DIY Ate!!! Don't have a blogger journal, I only write them on my personal journal hehehhe cute kaau!!! <3 so lovely in pink!
ReplyDeletelove lots,
Tin
mypoeticisolation.blogspot.com
Thanx tin! You know how I Love pink! :) hehe
Deletewowoww!! they look amazing!! you are so creative and so kind!! thank you for these!! just followed you on gfc!! hope to see you on my page too! kisses!
ReplyDeletewww.fashionizein.com
Thanx dear! :) sure thing will drop by on your blog :)
DeleteWonderful DIY! I sure could use this :D
ReplyDeletewww.dicexcvi.com
thanx dice :)
DeleteYou look so beautiful ;)
ReplyDeleteI follow you, i hope you follow my back ;)
http://www.aureliabu.lt/
Thanx dear! Sure will do :)
DeleteReally cute idea. I love the anchor and key patterns. Following you
ReplyDeleteDeedee
http://madeupgirl-madeupgirl.blogspot.com
Thanx Deedee! ;)
Delete